Vegan and gluten-free butternut squash pie with an almond flour crust. Perfect for a fun holiday dessert alternative to pumpkin pie!
Hey, guys!
Tomorrow will officially be two weeks until Thanksgiving Day.
What do you have planned for Thanksgiving?
Ever since the severity and length of the pandemic was obvious, I started to stress about how the holiday season would pan out.
“But what about the holidays?”
The thought loomed in my mind all summer and fall.
As COVID continues to rage on in United States, the fourth Thursday of November will look a little differently for me.
I’ll be zooming my parents and sister to share our Thanksgiving plates instead of sitting across from each other at their dining room table.
But friends, the most wonderful time of the year can still be wonderful.
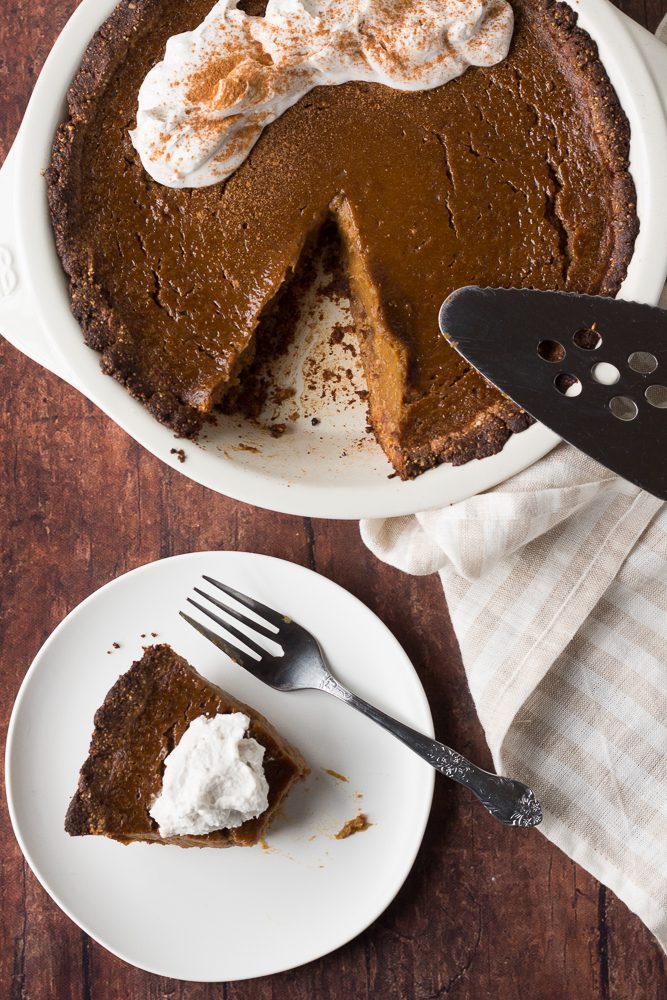
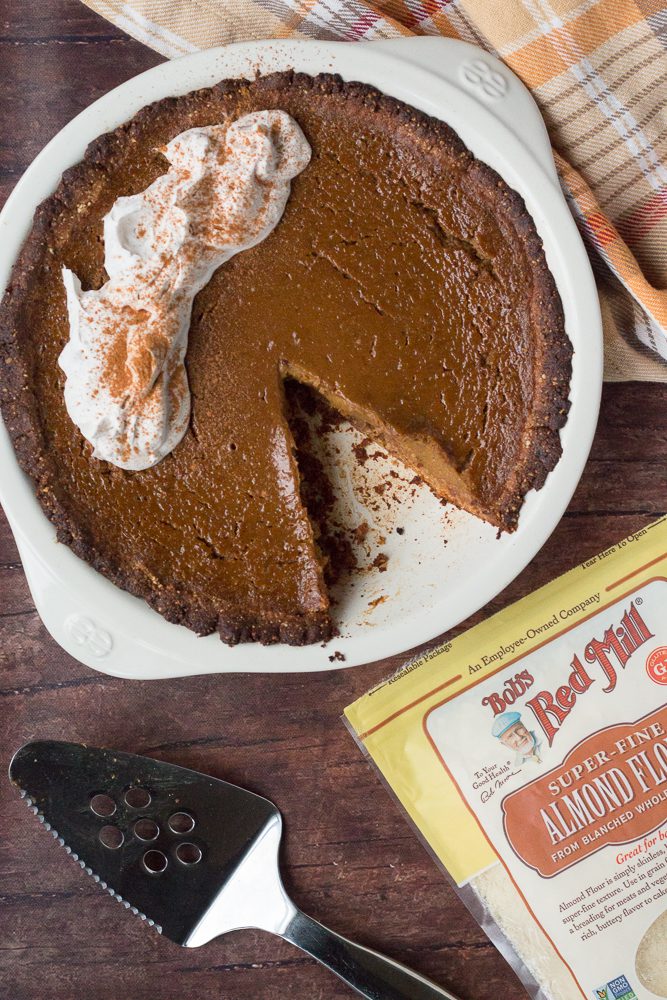
Let’s create new traditions this year, like this Butternut Squash Pie with Almond Flour Crust.
It’s vegan and gluten-free with a sweet and creamy squash filling and a flaky almond flour based pie crust.
Pumpkin pie is a classic, but have you ever thought about squash pie?
Yeah, I hadn’t thought of squash pie either, until I ordered it off of the dessert menu at True Foods Kitchen.
One bite out of that orange baked triangle and I was hooked.
It’s all smooth and velvety winter squash filling with a crispy pie crust and a big collop of coconut whipped cream.
YUM.
Ever since I established my strong feelings for said pie, I vowed to create my own variation for the blog.
So here it is: Butternut Squash Pie with Almond Flour Crust.

Like all pies, we start with a circular crust.
Here’s what you need:
- raw cashews
- gluten-free old-fashioned rolled oats
- medjool dates
- Himalayan sea salt
- ground ginger
- ground cinnamon
- Bob’s Red Mill super-fine almond flour
- coconut oil
- pure maple syrup
That’s it!
This pie crust is special because it’s made with Bob’s Red Mill super-fine almond flour.
If you’ve been around here for a while, you know that I use this almond flour in everything.
From raw treats to bake desserts, it has the *best* fluffy texture and nutty flavor.
It’s perfect to use in combination with cashews and dates for a healthier gluten-free pie crust packed with nut protein and healthy fats.
The crust is lightly sweetened with dates and a touch of pure maple syrup.

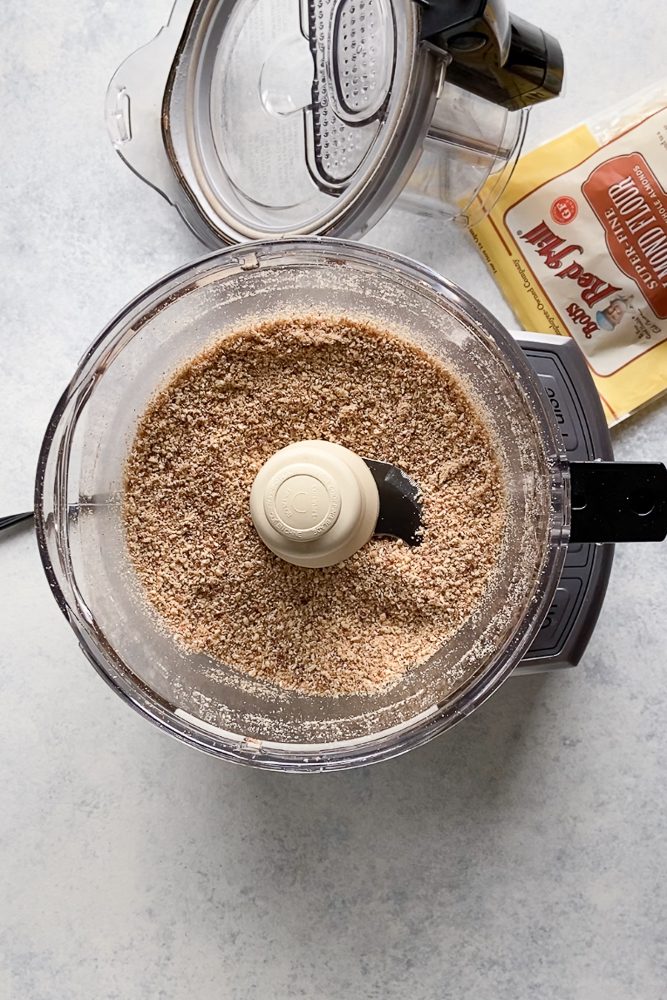
To prepare the crust, add the cashews, oats, dates, sea salt, ginger, and cinnamon to a high speed blender or food processor and pulse until you have a fine meal.
Next, add in the almond flour and pulse again to combine.
Finally, add in the coconut oil and maple syrup and pulse again until you have a tacky dough.
To test the dough, I like to press a clump between two fingers.
If the dough sticks, it’s ready to be pressed into the pie pan.
If it crumbles, add another date or two for more stickiness!
Next, transfer the dough to a greased pie pan and use your hands to distribute it in an even layer.
I like using the bottom of a measuring cup to push the dough up the pie pan sides to form the side crust!
Make sure to use a fork to poke a few holes in the crust to allow hot air to escape while baking.
Pop the crust in the oven and bake it until it’s lightly golden brown then remove it from the oven for filling.
This is just a pre-bake for the main event, so don’t worry if it looks wildly underdone.

Now that we an almond flour pie crust shell pre-baked, let’s create our squash filling.
Here’s what you need:
- butternut squash purée
- arrowroot starch
- canned full fat coconut milk
- unrefined coconut sugar
- maple syrup
- pumpkin pie spice
That’s it!
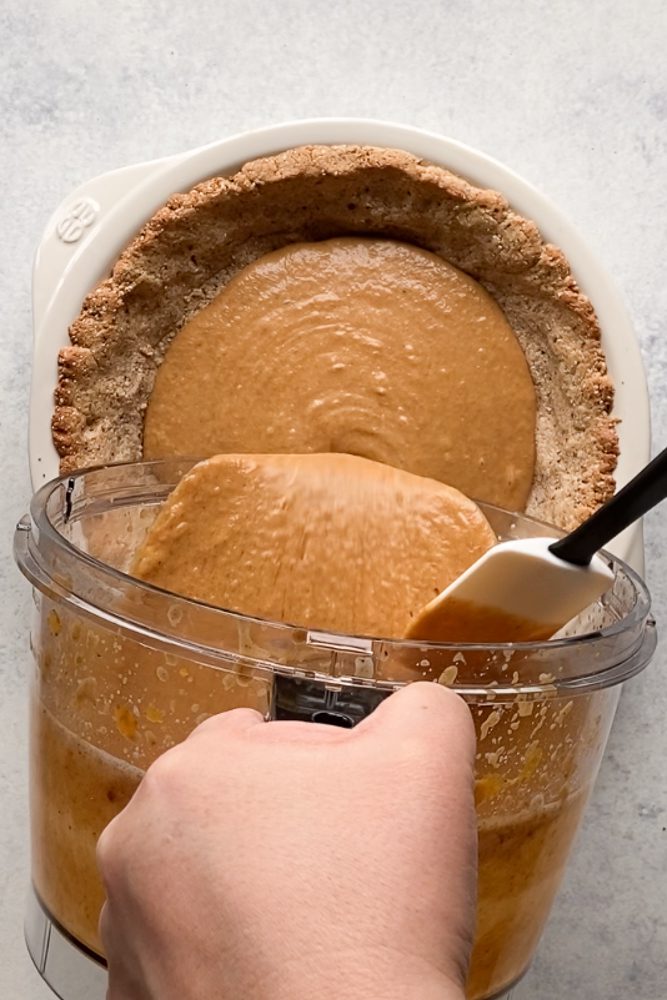
Rinse out the food processor or blender and add in the butternut squash purée, arrowroot starch, coconut milk, coconut sugar, maple syrup, and pumpkin pie spice.
Blend the mixture on high, scraping down sides as needed, until creamy and smooth.
I used canned butternut squash purée for this recipe, but you could also use fresh roasted butternut squash, too.
Taste the filling and adjust the flavor as needed, adding more pumpkin pie spice for depth of flavor or coconut sugar for sweetness.
I prefer mine on the less sweet side so you can really taste the squash!
Once the crust is pre-baked, pour the filling into the slightly cooled crust and smooth into an even layer with the bake of a spoon.
Return the pie pan to the oven and bake for 35-40 minutes, or until the edges of the crust appear golden brown.
Try wrapping the edges of the crust with aluminum foil to prevent burning.

Remove the pie from the oven and let it cool at room temperature for 30 minutes.
But wait, there’s more!
It’s important to remember to transfer pie to the refrigerator to completely cool.
I like to let the pie chill in the fridge overnight before serving the next day.
Once it’s completely cool, you can lightly cover and store in the fridge.
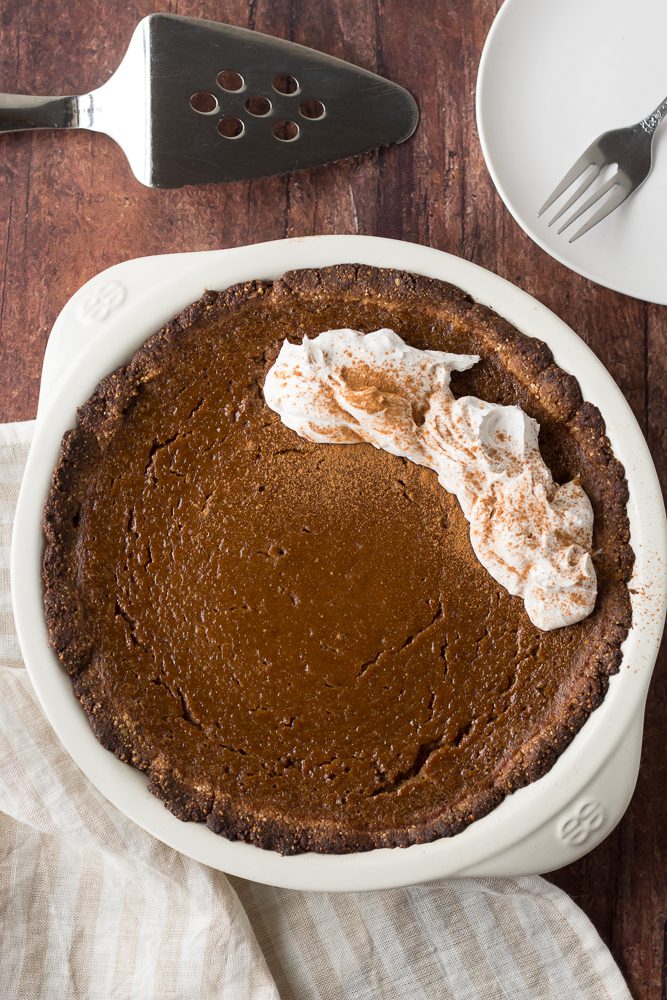
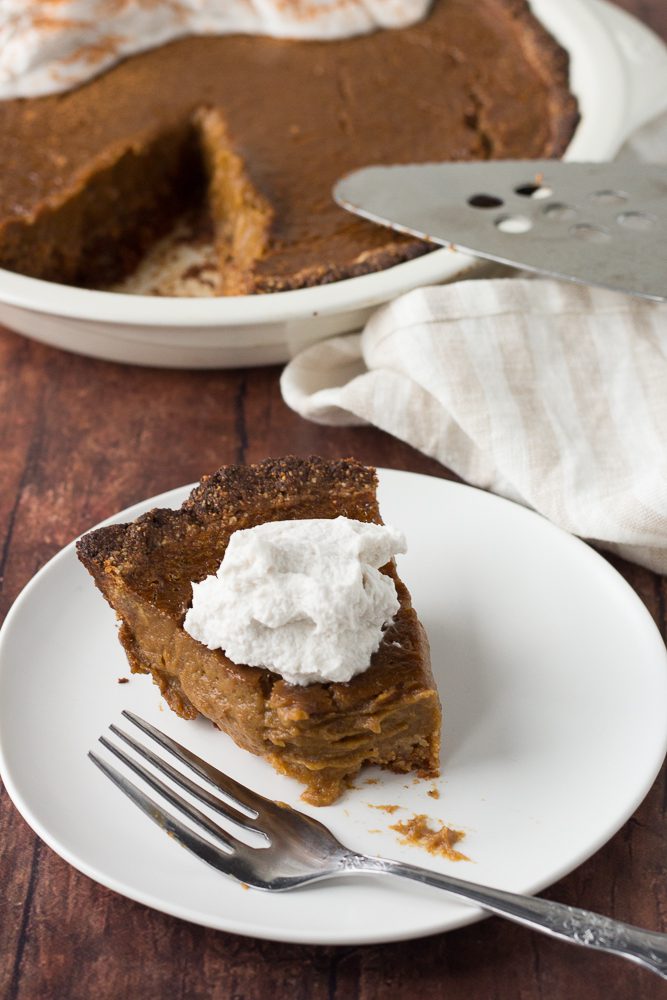
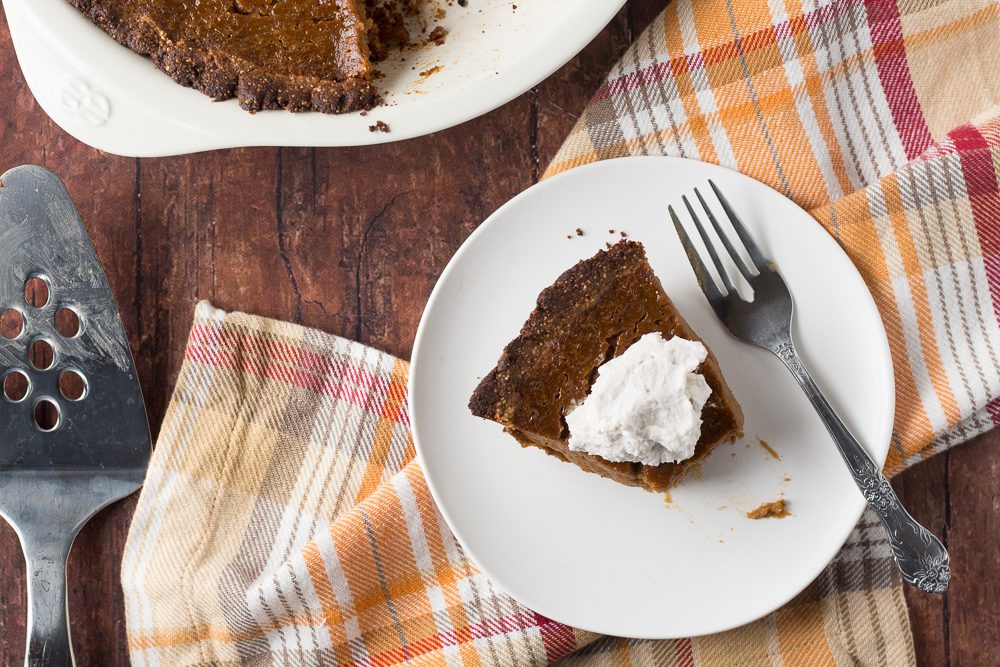
Slice the pie and enjoy at room temperature or chilled with coconut whipped cream.
Enjoy this Butternut Squash Pie with Almond Flour Crust as a fun vegan and gluten-free fall-inspired dessert.
It would be a fun edition you your holiday dessert table this year!
Enjoy!
If you make this Butternut Squash Pie with Almond Flour Crust, let me know what you think!
Be sure to leave me a comment, rating, and review so I can use your feedback to create more yums.
Give me a shout on Instagram and use #floraandvino to show me your creations.
Check out my Pinterest page to pin more recipe like this one to make later.
Want more oil-free, gluten-free, refined-sugar-free pie recipes? Check out my Vegan Dark Chocolate Pecan Pie and 6-Ingredient Vegan & Gluten-Free Chocolate Pie.
Do you love this post and want more? Go to my homepage and subscribe to get updates delivered right to your inbox!
XO Lauren

Butternut Squash Pie with Almond Flour Crust
- Total Time: 1 hour 40 minutes
- Yield: 8-12 servings
- Diet: Vegan
Description
Vegan and gluten-free butternut squash pie with an almond flour crust. Perfect for a fun holiday dessert alternative to pumpkin pie!
Ingredients
ALMOND FLOUR CRUST:
- 1 ¼ cups raw cashews
- 1/2 cup gluten-free old-fashioned rolled oats
- 2–3 pitted medjool dates
- pinch of Himalayan sea salt
- 1/4 tsp ground ginger
- 1 tsp ground cinnamon
- 3/4 cup Bob’s Red Mill super-fine almond flour
- 1/4 cup firm coconut oil
- 1/4 cup pure maple syrup
BUTTERNUT SQUASH PIE FILLING:
- 2 cups butternut squash purée
- 2 TBSP arrowroot starch
- 3/4 cup canned full fat coconut milk
- 1/4 cup unrefined coconut sugar
- 1/4 cup maple syrup
- 1 TBSP pumpkin pie spice
Instructions
- Preheat the oven to 350°F and lightly grease a pie pan with coconut oil.
- Prepare the crust by adding the raw cashews, oats, dates, sea salt, ginger, and cinnamon to a high speed blender or food processor and pulse for about 30 seconds to combine. Continue to pulse in 30 second increments until you have a fine meal.
- Next, add in the almond flour and pulse again to combine. Finally, add in the coconut oil and maple syrup and pulse again until you have a sticky dough. The dough should stick together when pressed together between your fingers.
- Transfer the dough to the greased pie pan and use your hands to distribute it in an even layer. Try using the bottom of a measuring cup to push the dough up the pie pan sides to form the side crust. Use a fork to poke the crust a few times to create places for the crust to vent while baking.
- Bake the pie crust for 10 minutes or until very slightly golden brown Then remove from the oven and set it aside to cool.
- While the crust is baking, prepare your pie filling. Rinse out the food processor or blender and add in the butternut squash purée, arrowroot starch, coconut milk, coconut sugar, maple syrup, and pumpkin pie spice. Blend on high, scraping down sides as needed, until creamy and smooth.
- Taste the filling and adjust the flavor as needed, adding more pumpkin pie spice for depth of flavor or coconut sugar for sweetness.
- Once the crust is pre-baked, pour the filling into the slightly cooled crust and smooth into an even layer with the bake of a spoon. Cover the edges of the pie crust with aluminum foil to prevent burning. Return the pie pan to the oven and bake for 35-40 minutes, or until the edges of the crust appear golden brown.
- Remove the pie from the oven and let it cool at room temperature for 30 minutes. Then transfer pie to the refrigerator to continue to cool. Once it’s completely cool, lightly cover with aluminum foil or plastic wrap and store in the fridge.
- Slice the pie and enjoy at room temperature or chilled with coconut whipped cream. Leftovers will keep covered in the refrigerator up to one week and in the freezer for up to one month.
Notes
Recipe adapted from Minimalist Baker: 1-Bowl Pumpkin Pie
- Prep Time: 1 hour
- Cook Time: 40 mins
- Category: Dessert
- Method: Oven-Bake
- Cuisine: Vegan, Gluten-Free, Refined-Sugar-Free
This post is brought to you by Bob’s Red Mill, but all words and eats are my own. Thanks for supporting the sponsors that keep me hungry!
Photography by Hot Pan Kitchen

Leave a Reply