Homemade vegan dark chocolate Christmas candies made with fun holiday silicone molds for an easy 1-ingredient refined sugar-free Christmas treat!
Does it snow where you are, friends?
Today we got our first snow of the season in Virginia.
The white stuff started coming down around 10 AM and by 11 AM the grass, asphalt, and neighboring rooftops all had a fluffy frosting.
I don’t care what anyone says…I *love* snow.
Snow days always make me feel giddy with childlike anticipation and energy.
I plowed through a holiday shoot in the studio today, powered by holiday hits and the gorgeous light reflecting off my snow-saturated deck.
Afterwards, I dawned my Sorel snow boots, fuzzy hat, and heavy duty gloves to explore the winter wonderland.
If you’re home for the holidays, maybe you’re in the mood for a sweet homemade present.
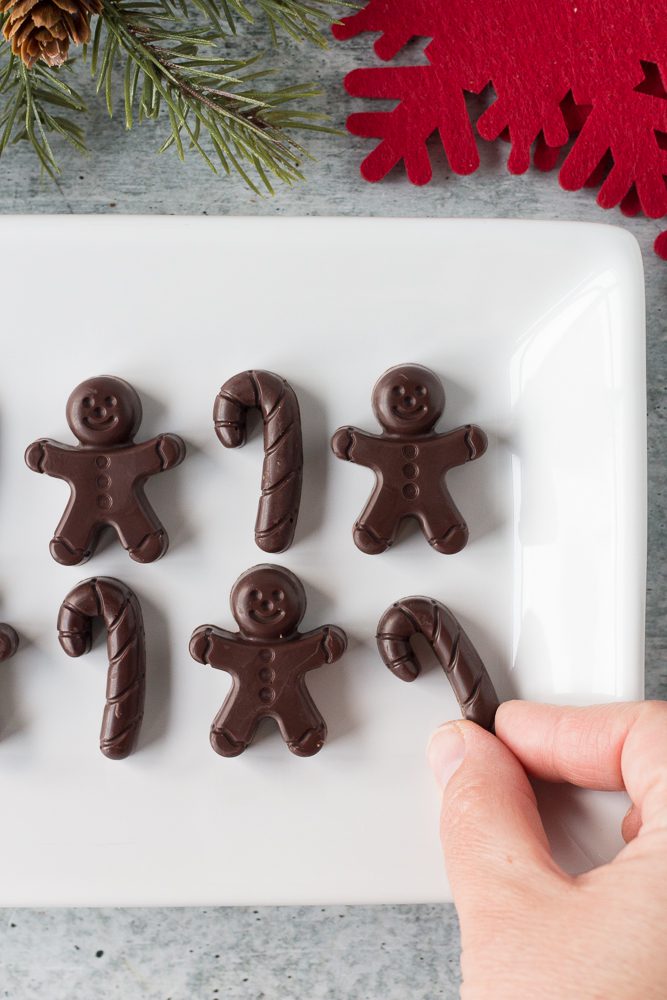
These Homemade Christmas Chocolates are the perfect DIY Christmas treat that you can make from home!
All you need is some seriously delicious dark chocolate and your favorite holiday silicone molds.
Ever since I made my Homemade Vegan Chocolate Bunnies & Eggs I’ve been dying to make more cute shapes with chocolate.
I hope you believe me when I say how easy this “recipe” is.
All you need is dark chocolate.
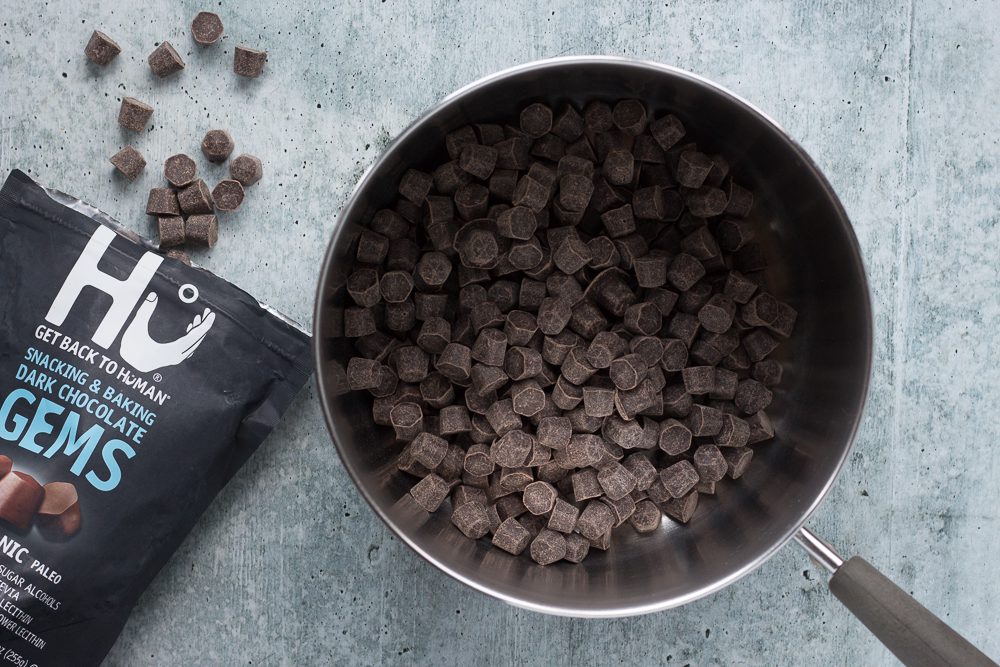
Well, Hu chocolate, to be exact.
I used Hu Kitchen Gems to create the sweet Christmas-y base to these cute treats.
This is my favorite chocolate because it’s vegan, paleo, gluten-free, and refined-sugar free without any added oils or sugar alcohols.
Grab some Hu Kitchen Gems for the easiest chocolate melt you’ve ever seen!
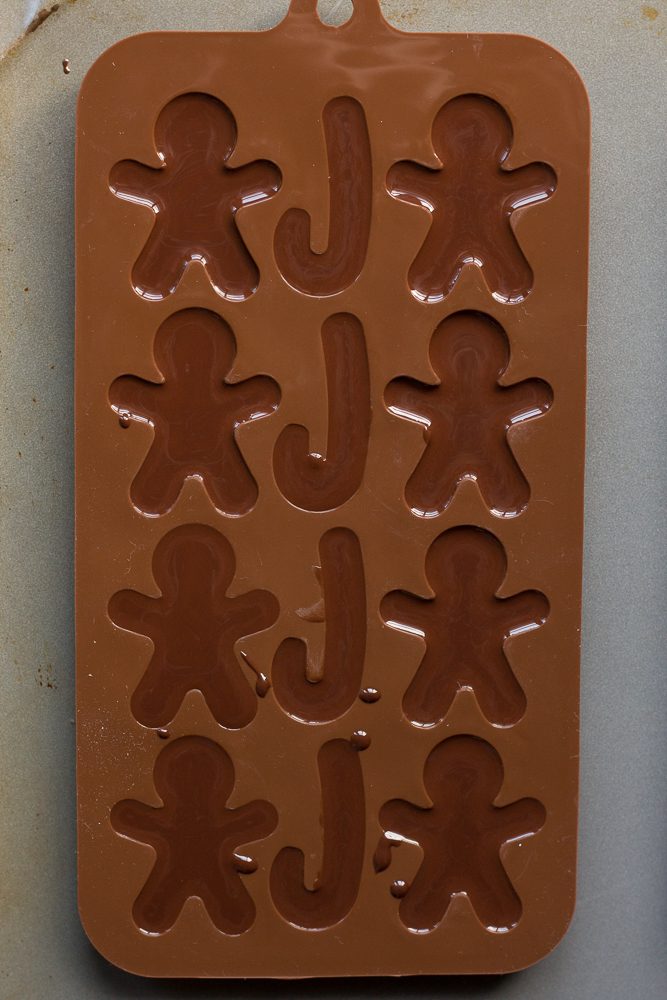
First, you need some fun and festive silicone molds to begin.
I love this one with alternating gingerbread men and candy canes!
You’ll see that the amount of chocolate listed is open ended because it will depend on how large your molds are.
Try eye-balling it, then melt more chocolate as needed to finish filling the molds.
If you’re guessing, guess high!
You can always repurpose the melty chocolate for other purposes, or drizzle it on a snack while you wait…
First, melt the chocolate in a medium saucepan over medium-low, stirring often to prevent burning.
The best part about this chocolate is that you don’t need to add any oils or sugars.
It’s perfectly sweet and melts beautifully all by itself.
I recommend pouring the melted chocolate into a heat safe bowl for easier access.
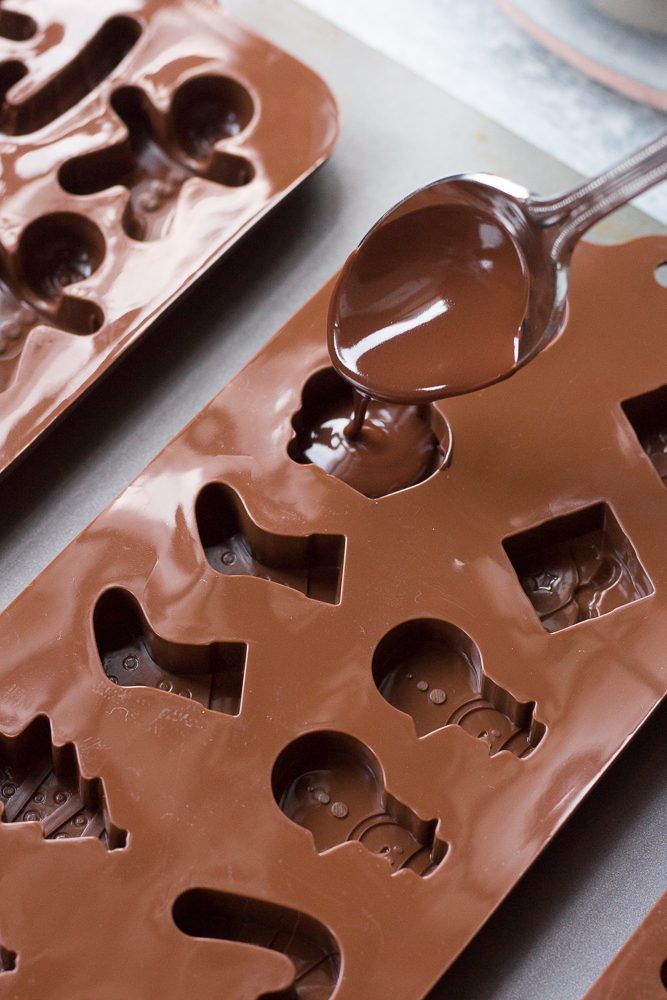
Next, grab a big spoon for drizzling!
The trick to this recipe is all about the set up.
Set up the molds on the counter, right next to the bowl of melted chocolate.
Make sure you support the silicon molds on plates or a baking sheet before filling.
This will make it easier to transfer the molds to the refrigerator or freezer after they’re wobbly and gooey with melty chocolate.
Carefully pour the melted chocolate into the molds, filling to the top but careful not to overflow.
If you have some drips and drops- that’s OK!
Pro tip: Tap the filled silicone molds several times on the counter to release any air bubbles.
After you’ve successfully burped your chocolate, let’s freeze it.
Now for the hard part.
The freeze time.
The long wait.
These Homemade Christmas Chocolates will take about 60 minutes to harden.
The shapes on the outer edges will freeze faster than those in the center!
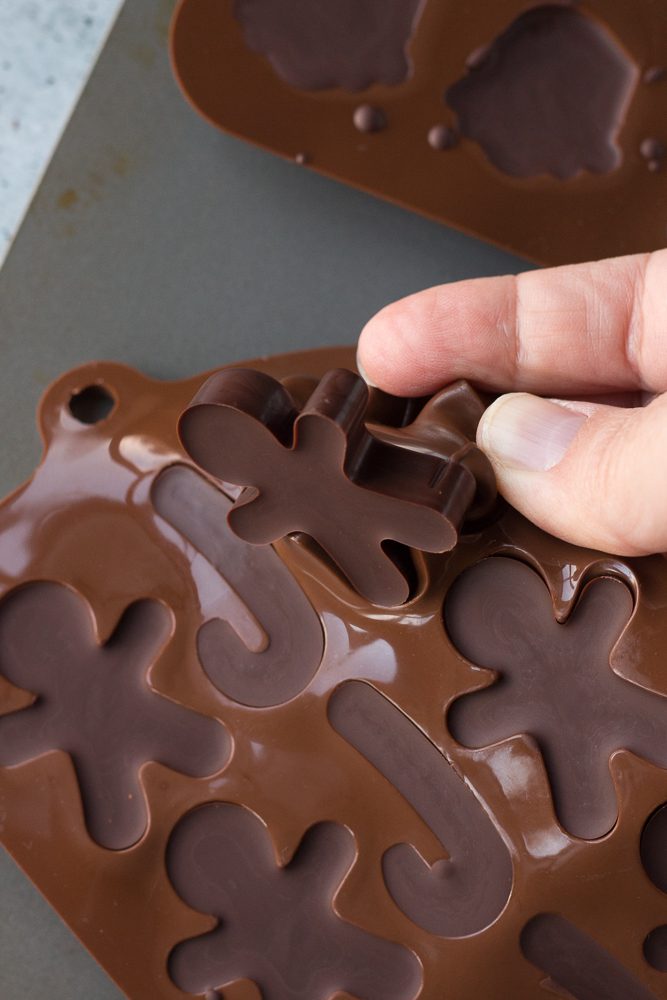
Chocolate shapes are done when they’re firm to the touch and can easily be popped out of the mold without sticking.
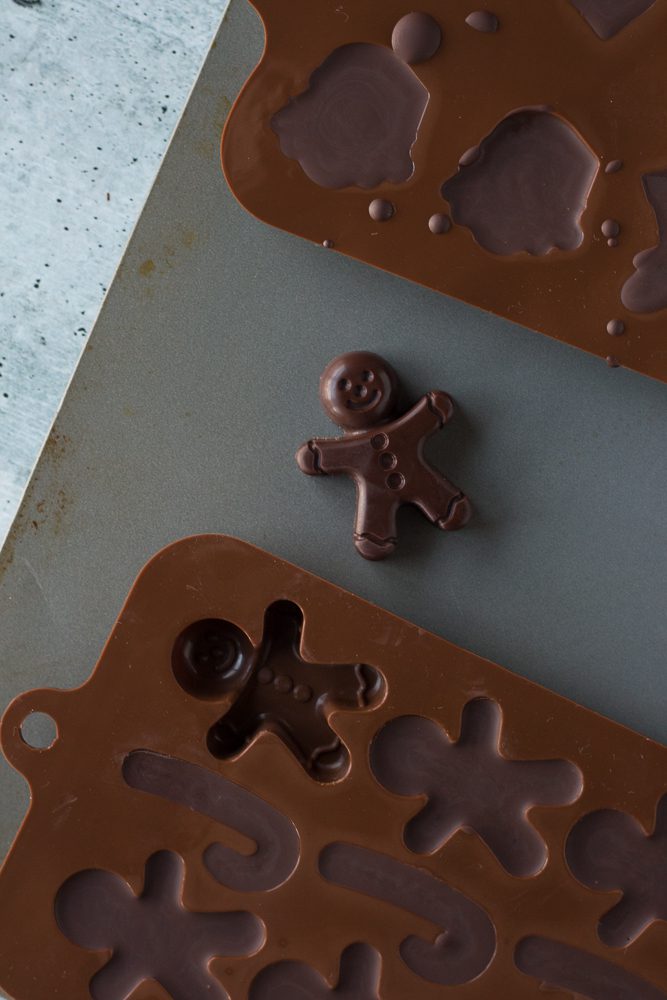
Carefully remove the silicone from the freezer and pop out the shapes one by one.
And that’s it!
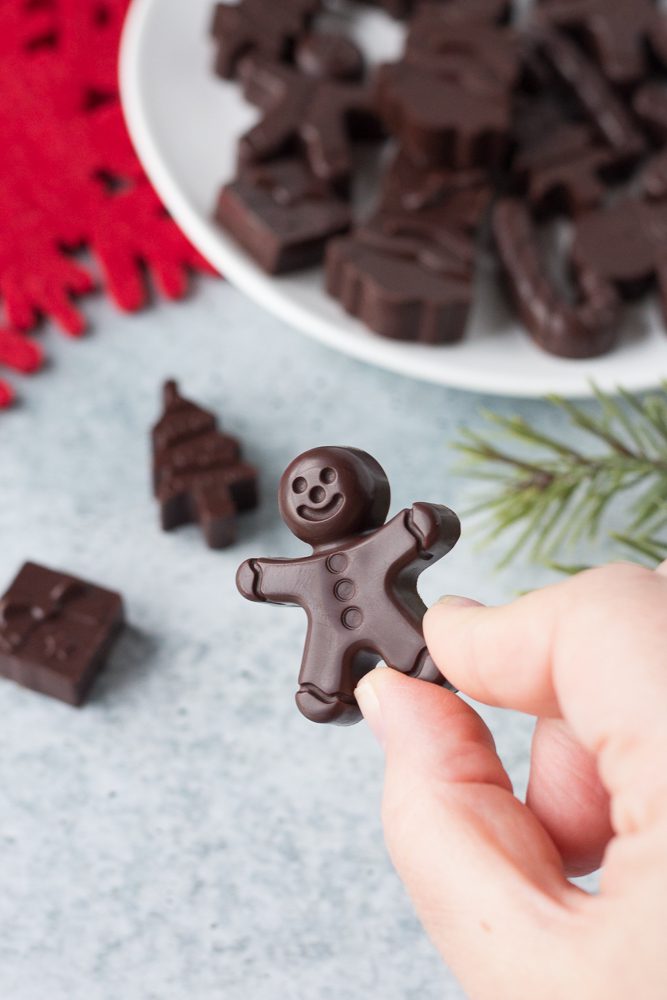
Adorable Christmas-themed chocolates to share.
Or not…

These Homemade Christmas Chocolates are the perfect way to celebrate Christmas, simply and creatively.
This would be a great project to make with kids and your family in place of creating a gingerbread house!
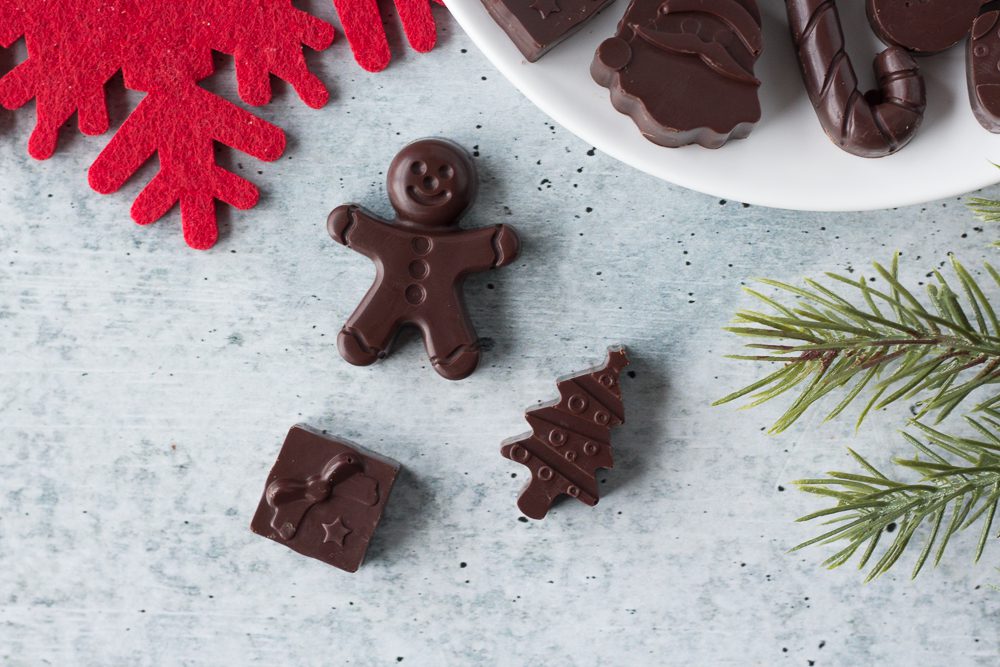
They’d also be so cute to make and gift for family and friends this holiday season.
And, this concept isn’t just for Christmas.
Grab your favorite holiday-themed silicone mold and melt your favorite dark chocolate to form into any shape!
I used a simple dark chocolate bar here, but if you want to get creative, melt down your favorite Hu Kitchen chocolate bar flavor.
If you purchase silicone molds for this recipe, they’re also oven-safe for creating fun shaped baked goods in the oven.
Enjoy!
If you make these Homemade Christmas Chocolates, I’d love to hear what you think!
Be sure to leave me a comment, rating, and review so I can use your feedback to create more yums.
Give me a shout on Instagram and use #floraandvino to show me your creations.
Check out my Pinterest page to pin more recipes like this one to make later.
Want more easy chocolate recipes? Check out my Homemade Vegan Chocolate Bunnies & Eggs!
For more DIY Christmas chocolate recipes, check out my 3-Ingredient Chocolate Strawberry Truffles and Cacao Dusted Dark Chocolate Truffles.
Do you love this post and want more? Go to my homepage and subscribe to get recipe updates sent right to your inbox!
XO Lauren

Homemade Christmas Chocolates
- Total Time: 30 minutes
- Yield: 16-24 chocolates
- Diet: Vegan
Description
Homemade vegan dark chocolate Christmas candies made with fun holiday silicone molds for an easy 1-ingredient refined sugar-free Christmas treat!
Ingredients
- Hu Kitchen Gems (2-4 cups, depending on how many molds you’re filling)
- Silicone Holiday Molds
Instructions
- Add chocolate Gems to a large saucepan over medium low heat. Heat until fully melted, stirring often to prevent burning. Pour melted chocolate into a large heat-safe bowl.
-
Prepare your space. Place the silicone molds on top of a baking sheet or plate. This will ensure easy transfer to the refrigerator or freezer. Set the melted chocolate bowl next to the plates.
-
Using a spoon, drizzle the melted chocolate into the silicone mold cavities, filling each to the top without run over. I found it helpful to wipe the spoon frequently to prevent too much dripping. Repeat until all cavities are filled. Gently tap the mold several times to release any air bubble.
-
Transfer the baking sheet/plates with the silicone molds to the refrigerator/freezer for 60 minutes to harden.
-
Once completely cool, remove the silicone molds from the refrigerator/freezer. Carefully invert the cavities to pop out the shapes. Enjoy immediately as part of your Easter spread!
-
Transfer cooled chocolate shaped to an airtight container and store in the fridge for several weeks.
- Prep Time: 30 mins
- Cook Time: 0 mins
- Category: Dessert
- Method: Freezer, No-Bake
- Cuisine: Vegan, Gluten-Free, Refined Sugar-Free
This post is brought to you by Hu Kitchen, but all words and eats are my own. Thanks for supporting the sponsors that keep me hungry!
Photography by Hot Pan Kitchen

[…] Image Source: floraandvino.com […]